Set up serving positions, choose who sees what, and share your positions page.
Overview
Your positions page lists the places people can serve at your church. Each position shows its leader, department and campus, and a button to inquire. Members who have taken the position's linked assessment also see how well they fit it.
Everything on that page comes from three places in ServeWire:
Positions → each position's five tabs (name, details, qualifications, activity, Planning Center form).
Settings → Position Display Settings (who can browse, and how fit is shown).
Settings → Position Notification (the sender used for inquiry emails to leaders).
Your church's positions page lives at your ServeWire address followed by /positions/, for example https://yourchurch.servewireapp.com/positions/.
Step 1: Create a position
Go to Positions and click Create New Position. The position editor has five tabs. Save each tab before moving to the next.
TIP: Uploading a CSV file will create all positions and update Position Settings and Position Details, but you will still need to edit each position to configure the Position Qualifications. To use the bulk import function, download the Sample CSV File and use it as your template. Create one row for each position. Once all columns are updated, upload the CSV by selecting 'Select CSV' and select the file from your computer, then click the 'Upload' button. All positions listed in your CSV will then show on the table as per the example above.
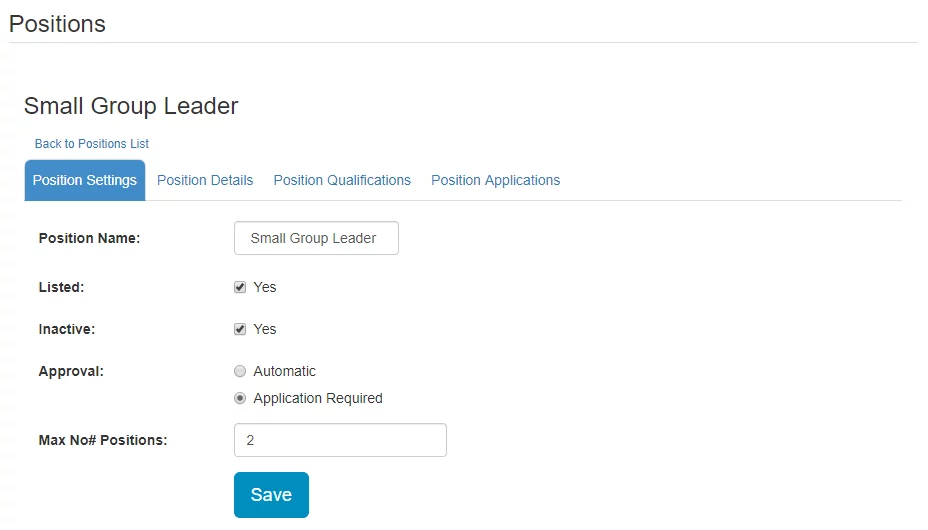
1. Position Settings
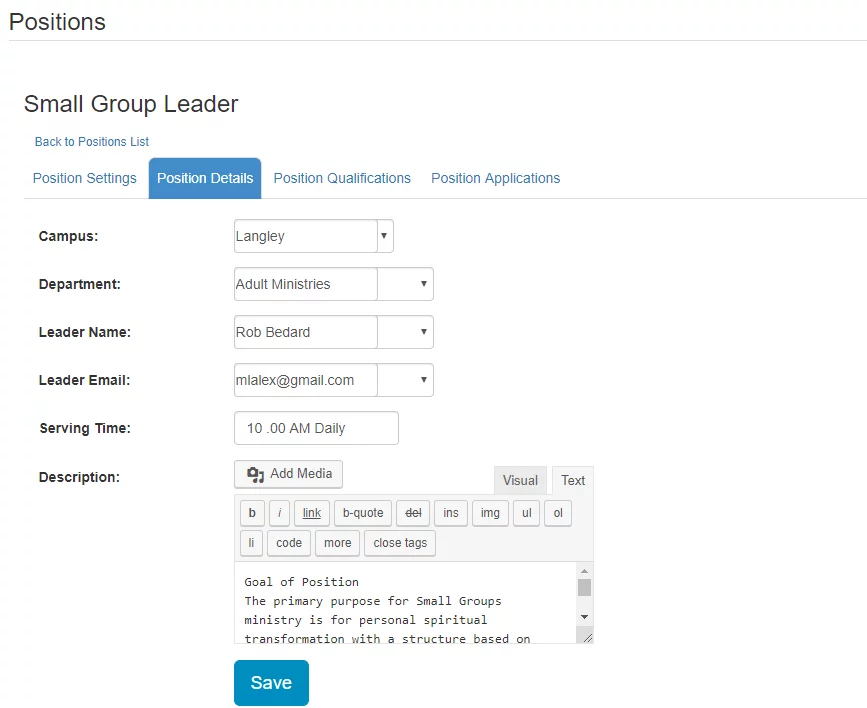
2. Position Details
3. Position Qualifications
This tab decides whether the position is scored (members see a fit percentage) or Open to everyone.
Scored position: choose a Linked Test, then pick the gifts, passions or abilities from each section that suit the role. Mark any that are essential as Required, and use the weights to say which matter most. Members see their fit once they complete the linked test.
Open to everyone: tick Open to everyone at the top of the tab. It saves as soon as you tick it. The Linked Test and qualifications are hidden (and kept, so unticking brings them back).
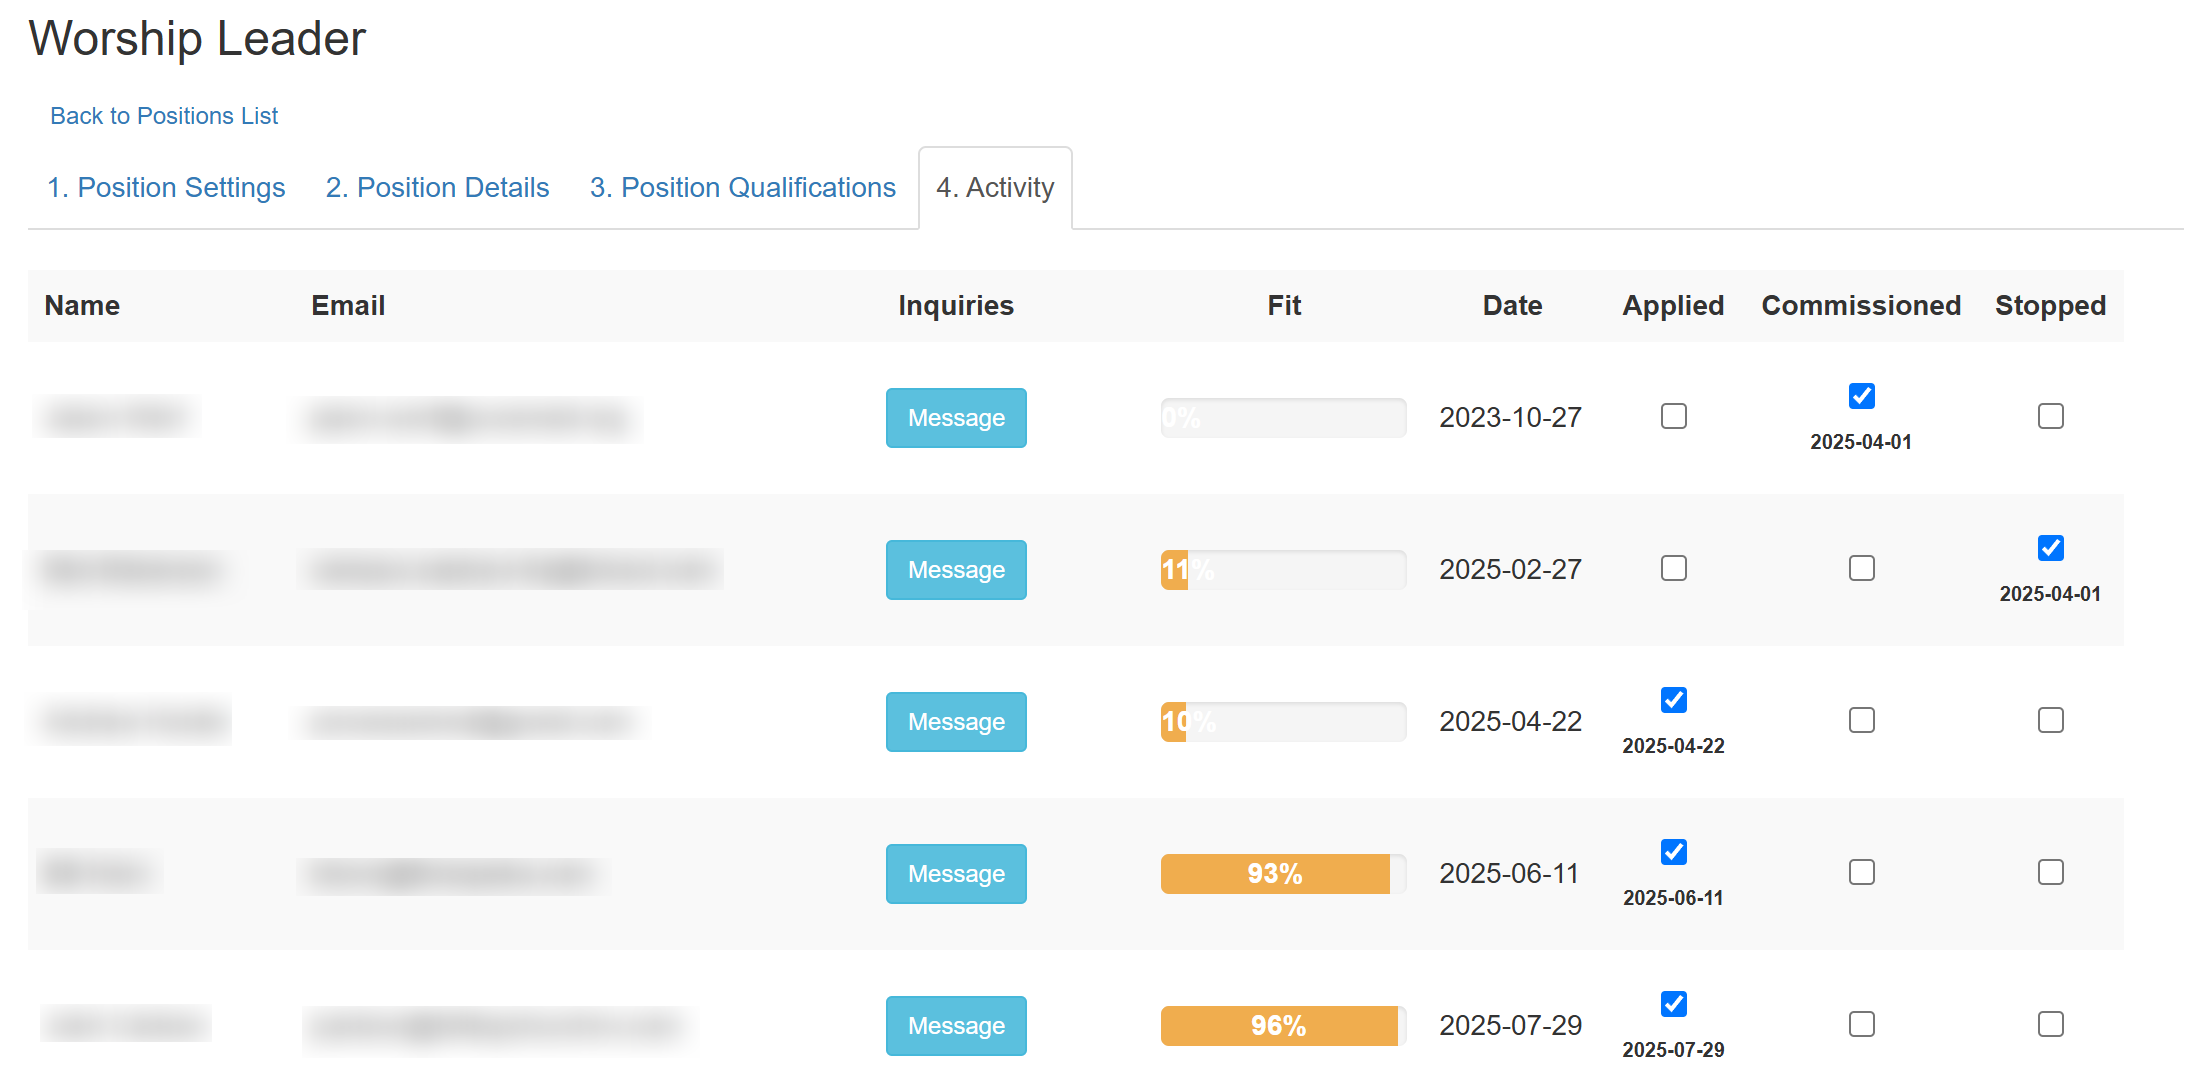
4. Activity
Everyone who has inquired about or applied for this position, with their message, fit, date, and checkboxes to track whether they were commissioned or stopped serving.
5. PCO Options (Planning Center churches only)
Connect the position to a Planning Center form. When a position uses a Planning Center form, members see Apply instead of Inquire and complete the form in Planning Center (it opens in a new tab). Visitors must sign in before applying to these positions.
Step 2: Choose between scored and Open to everyone
Step 3: Set your display options
Go to Settings → Position Display Settings. These options apply to your whole positions page.
Step 4: Let visitors browse (optional)
Tick Let anyone browse positions without signing in. and click Save. Anyone with your positions link can now see every listed position, with its leader's name, department and campus.
What visitors see
A panel at the top: "You're browsing as a visitor. Sign in to see how well each position fits you..." with a Sign in button.
Search and sort (Newest first by default). No fit, no completion status, and never the leader's email address.
How visitors inquire
Guest sign-in is controlled under Integrations: for Planning Center, Allow Login Without a PCO Account; for CCB, the guest login checkbox (guest results stay in ServeWire and aren't sent to CCB).
Step 5: Share your positions page
At the top of the Positions screen you'll find three ways to share your positions page:
Option 1: Shareable link. Click the field to copy your positions link.
Option 2: QR code. Download a PNG or SVG for slides, posters and printed cards.
Option 3: Embed on your website. Copy the code and paste it into an HTML or code block on your website to show the positions page inside your own page.
These work just like the assessment's sharing options. See "Sharing your assessment: link, QR code or website embed" for details and tips.
Managing positions day to day
Pause a position: use the Status switch on the Positions screen, or tick Inactive on Position Settings.
Reuse a position: Clone copies it so you can make a similar role quickly.
Invite people to a position: Alert Email emails members who could serve there. For a scored position, that's members with a fit for it. For an Open to everyone position, it's members who completed its linked test and haven't applied; you'll see how many before you confirm.
Follow up on inquiries: open the position's Activity tab.
Bulk tools: Download All Positions and Download Position Qualifications export CSV files; you can also upload positions from a CSV.
Troubleshooting
Still stuck? Open a support ticket from your ServeWire Home screen and we'll help.
Was this article helpful?
That’s Great!
Thank you for your feedback
Sorry! We couldn't be helpful
Thank you for your feedback
Feedback sent
We appreciate your effort and will try to fix the article